
Introduction
Every EV owner remembers the first time they pulled up to a public charger. The car is in the right spot, the cable is in your hand, and you suddenly wonder whether you have done everything correctly. Is this the right charger? How do you start it? What if nothing happens?
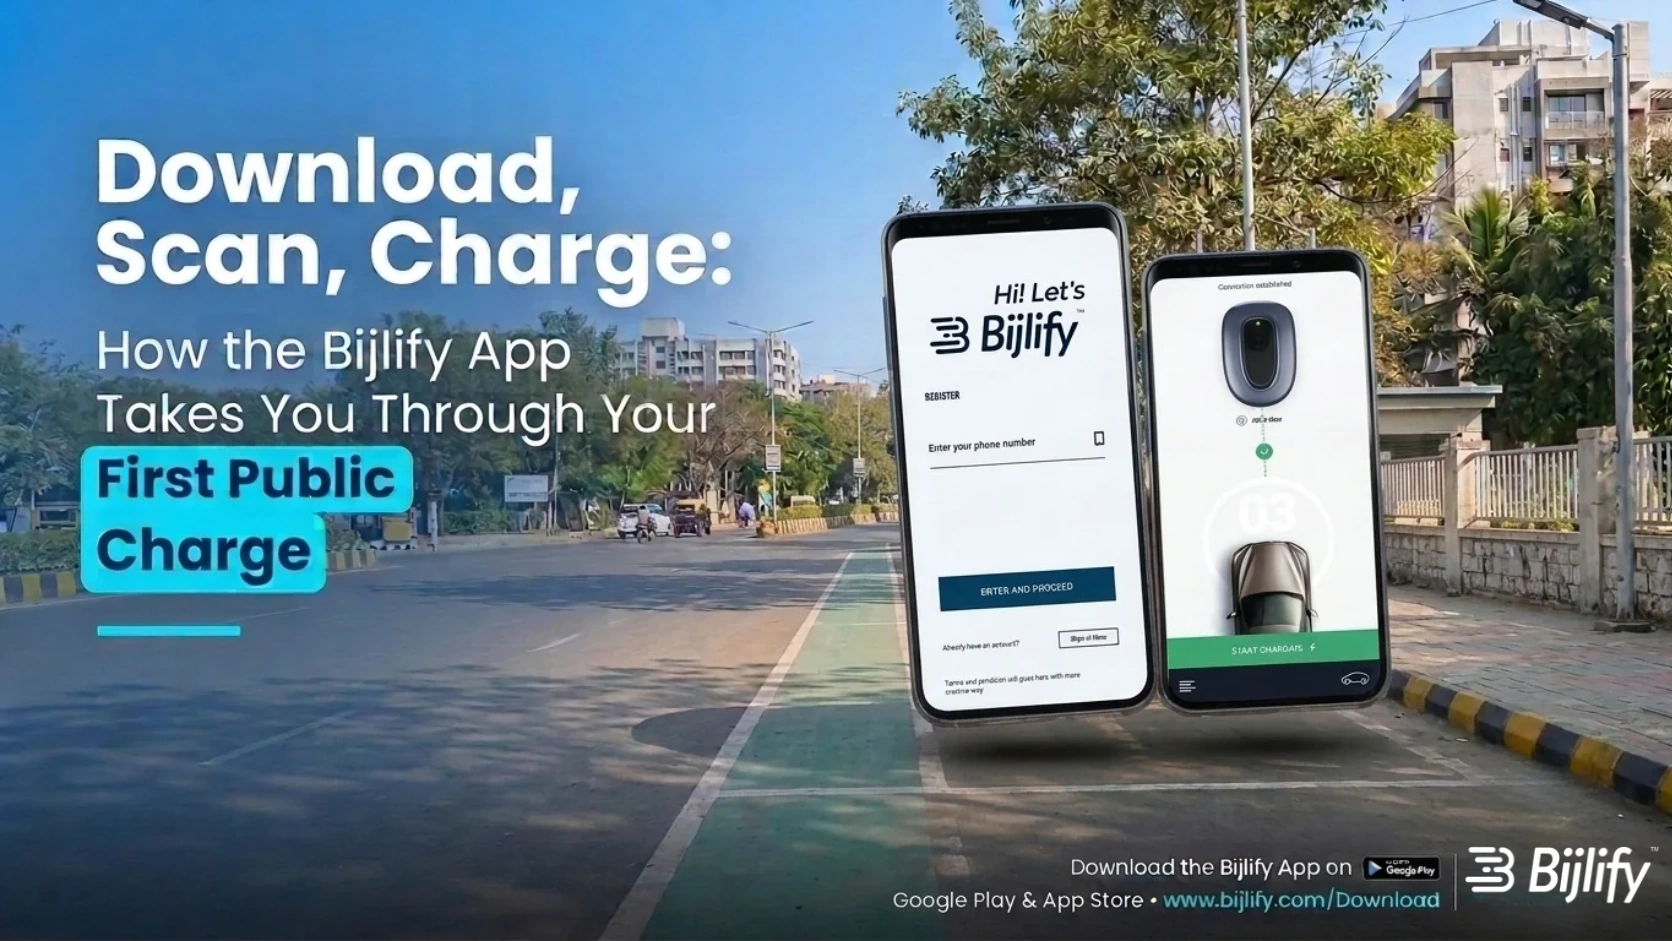
It does not have to feel like an exam. The steps are simple: download, scan, charge. This guide walks you through a first public charge using the Bijlify app, from sign-up and wallet top-up to the live session and final invoice.
Why the first public charge feels harder than it should
New EV owners usually have a few common questions:
- Where is the nearest charger, and is a connector free?
- How do I choose the right charger and start it?
- How do I pay for the charge?
- If something goes wrong, who can I contact?
These are usually questions about information and support rather than the hardware itself. Bijlify brings charger discovery, QR-based selection, wallet payments, live charging and invoices into one app.
What you need before you start
- A smartphone, iPhone or Android, with an internet connection.
- A mobile number that can receive a one-time password (OTP).
- Location access enabled in the app to show nearby chargers.
- An EV that uses a connector compatible with the selected charger.
- Enough balance in your Bijlify wallet to cover the charge.
Download: get the app before you leave home
The easiest time to set up the app is before you are standing next to a charger. Download the Bijlify EV Charging app from Google Play for Android or from the App Store for iPhone. You can also search for “Bijlify EV Charging” in the app stores. A charger poster carries QR codes for both stores along with basic charging instructions.
After installation, find the blue Bijlify icon on your home screen and open the app.
Step 1: Sign up with your mobile number
- On the welcome screen, tap “Signup here”.
- Enter your mobile number. The +91 country code is already filled in.
- Tap “ENTER AND PROCEED”. An OTP is sent to your number.
- Enter the 6-digit OTP in the six boxes and tap “SUBMIT”.
- Complete your profile if prompted. The app will then open the home screen.
If the OTP does not arrive, check the network connection and tap “Re-Send”. If it still does not arrive, contact Bijlify support rather than repeatedly requesting it. The same account can be used on more than one phone, although only one charging session can be active per account at a time.
Step 2: Top up your wallet and add your vehicle
Charging is paid from your Bijlify wallet. Open the menu and tap “My Wallet”. Enter an amount or use the quick-add buttons for ₹100, ₹500, ₹1000 or ₹2000. Confirm the green amount, tap it and complete payment. The updated Wallet Balance is then shown on the screen, and the app may warn you when the balance is low. “Transaction History” records wallet additions and charging spending.
Open “My Vehicles” and tap “+ ADD VEHICLE” to register the EV you intend to charge. You can add more than one vehicle. If you use a particular station regularly, tap the heart on the station to add it to “My Favorites”.
Step 3: Find a charger on the map or in the list
The home screen shows nearby chargers. Map view displays charging pins and your position:
- Green means the location has free connectors. A label such as 4/20 means four of 20 connectors are free.
- Orange means no connector is free at that location at that moment.
List view sorts stations by distance and shows each station's name, distance, available connector count or “Not available” status, and rating. Filters can narrow the results. The phone button connects you to Bijlify support. You can also browse the Bijlify charging map on the website.
It is sensible to look at more than one station as a backup when a preferred location is busy. On a long journey, plan charging stops before the battery becomes low.
Step 4: Open the station and select a green connector
Tap a station to see its connector tiles. A green tile means that the connector is available and shows the price per unit. A pink or red tile means it cannot be used right now. Each tile also shows a charger ID, making it easy to identify the exact connector.
Availability can change while other drivers charge, so check the colours immediately before arriving. Once you choose a connector, tap “NAVIGATE” to open directions in your maps app.
Scan: go straight to the charger
A site can contain more than one charger. The QR scan feature avoids having to identify the correct unit manually. Tap the QR button at the bottom right of the app and scan the code on the charger. The app takes you directly to that charging point.
Before plugging in, prepare the vehicle: make sure the wallet has enough balance, apply the handbrake, lock the EV securely and connect the charging gun. Confirm that the connector matches the EV port. If you are unsure, check the vehicle handbook for its port type and maximum accepted charging rate.
Step 5: Tap Charge Now and choose how much to charge
Open the station, tap a green connector and it will turn solid green when selected. Tap “CHARGE NOW” at the bottom of the screen. You can then charge by either units or amount:
- SELECT kWh: enter the number of energy units you want.
- SELECT AMOUNT: enter the amount you want to spend in rupees.
The app shows the matching value in the other box. Confirm that the amount is below your wallet balance, then tap “PROCEED”.
Step 6: Connect the gun and watch the session live
The charging screen opens after you proceed. You can also open it from the menu under “Live”, which lists running sessions.
Connect the charging gun to the EV and watch Gun Status. It shows “DISCONNECTED” until the gun is connected. When the indicator turns green, charging has started. The screen shows the battery's state of charge, estimated time left, remaining selected amount, and a progress ring.
You do not need to stay inside the app throughout the session. You can have a meal, make a call or take a short break. To stop early, tap “CANCEL CHARGING”. Otherwise, the session ends when the selected kWh or amount is reached. When charging is complete, unplug the gun and return it to the charger holder.
Step 7: Get your invoice
Your invoice is available in “My History”. Open the menu and stay on the “Charging History” tab. Each session shows the station, connector type, date and time, energy delivered and amount paid.
Tap “EMAIL INVOICE” to send it to your inbox or “DOWNLOAD INVOICE” to save it to the phone. The date filter helps locate older sessions, while “Transaction History” shows wallet payments and spending.
If something does not go to plan
- No OTP: check the network and tap Re-Send. If it still does not arrive, contact support.
- The connector is red: choose a green connector or another station. Check again after a few minutes.
- The station shows Not available: no connector is free, so try another station.
- Wallet balance is low: open My Wallet and add money before starting.
- Gun Status says DISCONNECTED: connect the gun to the EV and wait for the indicator to turn green.
- A second session will not start: only one session can be active per account, so finish or cancel the first.
- Charging does not start or the charger appears faulty: contact support and report the issue.
Bijlify offers 24x7 customer support. Call 1800 2109320 or email service@bijlify.com. Tell the team the station name and the charger ID shown on the connector tile.
AC or DC: which charger will you meet?
AC chargers are generally suited to locations where a vehicle remains parked for a long time, such as homes, offices and hotels. Bijlify's UNIV AC range covers configurations from 3.3 kW to 9.9 kW.
DC fast chargers are designed for faster charging. Bijlify installations include chargers at 30 kW, 60 kW and 240 kW, among other capacities.
For a short trip stop, DC may be suitable if the EV supports it and the charger provides a compatible connector. For an overnight stop, AC charging is often sufficient. Check the EV specifications for its maximum accepted DC charging rate and connector type before selecting a charger.
Safe and tidy habits
- Apply the handbrake and lock the vehicle before connecting the gun.
- Keep the charging cable away from walking paths.
- Return the gun to its holder after charging.
- Do not leave the phone unlocked with the app open in public places.
Small habits for a stress-free first charge
- Install and sign up for the app before the trip.
- Top up the wallet and add the vehicle.
- Identify two possible stations along the route.
- Check the car's port type and maximum charging rate.
- Scan the QR code instead of guessing which unit to use.
- Save the Bijlify support number in advance.
Conclusion
The first public charge becomes easier once the steps are clear: open the app, find a charger, scan, charge, watch the live session and collect the invoice. The Bijlify app takes you from station discovery to the charging session and payment record, while support is available if the process does not go as planned.